

Wildlife photography is perfect for capturing the magic of nature. It encourages us to look beyond ourselves, to step outside of our daily routines. The world is a wonderful, inspiring place and wildlife photographers remind us of that with their captivating images. Here are 14 tips to help you improve your wildlife photography skills.
Wildlife photography is perfect for capturing the magic of nature. It encourages us to look beyond ourselves, to step outside of our daily routines. The world is a wonderful, inspiring place and wildlife photographers remind us of that with their captivating images. Here are 14 tips to help you improve your wildlife photography skills.
1. Know your gear
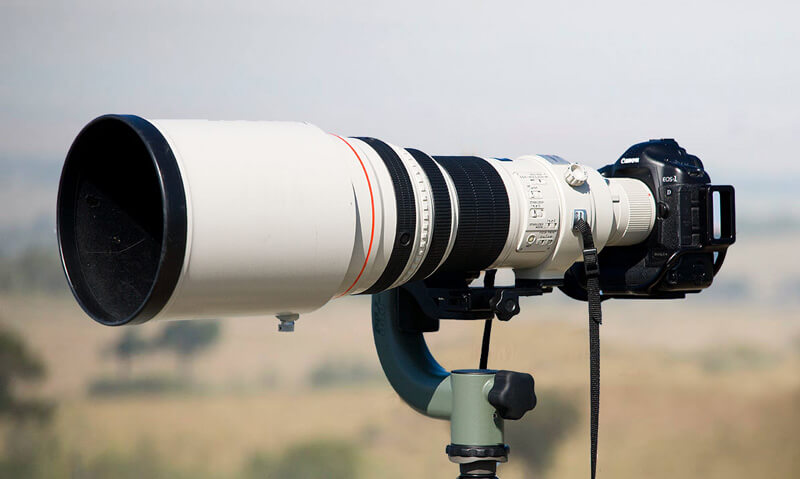
It is important to have the right gear for Wildlife Photography. Professionals prefer a digital single-lens reflex (DSLR) camera and semi-serious photographers a mirrorless camera. See this article for a comparison of the two types of cameras. Point-and-shoot cameras simply don’t have the reach you will need to safely photograph wild animals, and ultimately lack quality when it comes to taking a half decent photograph.
Telephoto lenses are a must for wildlife photography. How long depends on how close you can get and on the size of your subject. If the subject is not far a 300mm is okay. Birds, small and flighty and shy animals require really long lenses – 400mm or 600mm.
These lenses are big, heavy, and not a lot of fun to carry around. A 600mm lens weighs in at 5.36 Kgs (11.83 lbs).
This is not a big problem when photographing from a vehicle, but when on foot it might be a good idea to use a teleconverter on a short lens, for example a 300mm lens.
Teleconverters greatly increase the reach of your lenses and are small, light and come in different degrees of magnification. The downside is that image resolution is not quite as good and you lose some stops of light – but your back and shoulders are a lot happier.
When on safari, a quality pair of binoculars is probably the most important piece of equipment – even a cheap working pair is better than none at all. Also invest in a small, collapsible tripod.
2. Read the Manual
Often times we buy a new equipment and we don’t read the manual. Read the manual even if it’s over a hundred pages. It is amazing what you can learn about your camera, photography and also gain a few creative ideas just by reading the manual.
3. Tell a Story
Ask yourself what you want the images to communicate. Using a cheetah as an example, do you want to focus on the beauty of the animal or its fierceness as a predator? Do you want an intimate portrait or to juxtapose it with it’s environment. Once you start thinking about the story you hope each photo to tell, it informs how you should take the shot, and you will immediately see an improvement in your images.
4. Know your subject
Research the wildlife that’s likely to be present at your shooting location. The best shots start before photographers even set foot in the field. Try to learn about their behaviour, movements and habitat. Getting to know your subject also helps you to somewhat predict their behaviour beforehand. It can make a difference between being ready and prepared for capturing that “golden moment” and watching your subject fly away.
If you are already at your location, a great way to get to know your subject is to spend time with them.
5. Know the “rules” and think out of the box
There are certain rules that form the foundation of good photography. For example, understanding exposure, use of the histogram and proper composition using a guideline like the “rule of third”.
In wildlife photography also eye contact is important as it gives “life” to the image. When photographing birds the “head angle” should be at least perpendicular and ideally turned a few degrees towards the viewer.
Once you know the “rules” and when and how to apply them. You can start to test the boundaries a bit and think out of the box, photography is after all an art-form.
6. Work the light
The hours of golden light – around sunrise and sunset is usually the best time for wildlife photography. The exception is an overcast day, when the clouds act like a massive soft-box filtering out the light evenly.
Since photography is all about painting with light be creative and use the light to your best advantage. Even when the light is coming from the wrong direction, it can add lots of mood to an image. Shooting into the light is usually difficult to pull off, but if you know your gear you can get some pretty interesting images.
The hours of golden light are also normally when game drives take place in national parks and reserves. This is because the animals are more active at this time.
7. Shoot wider and also shoot closer
Shoot wider to give a viewer a better idea of the environment where your subject is found. Shoot closer to give a feeling about the personality of your subject. Shooting closer also helps you think in terms of abstract composition.
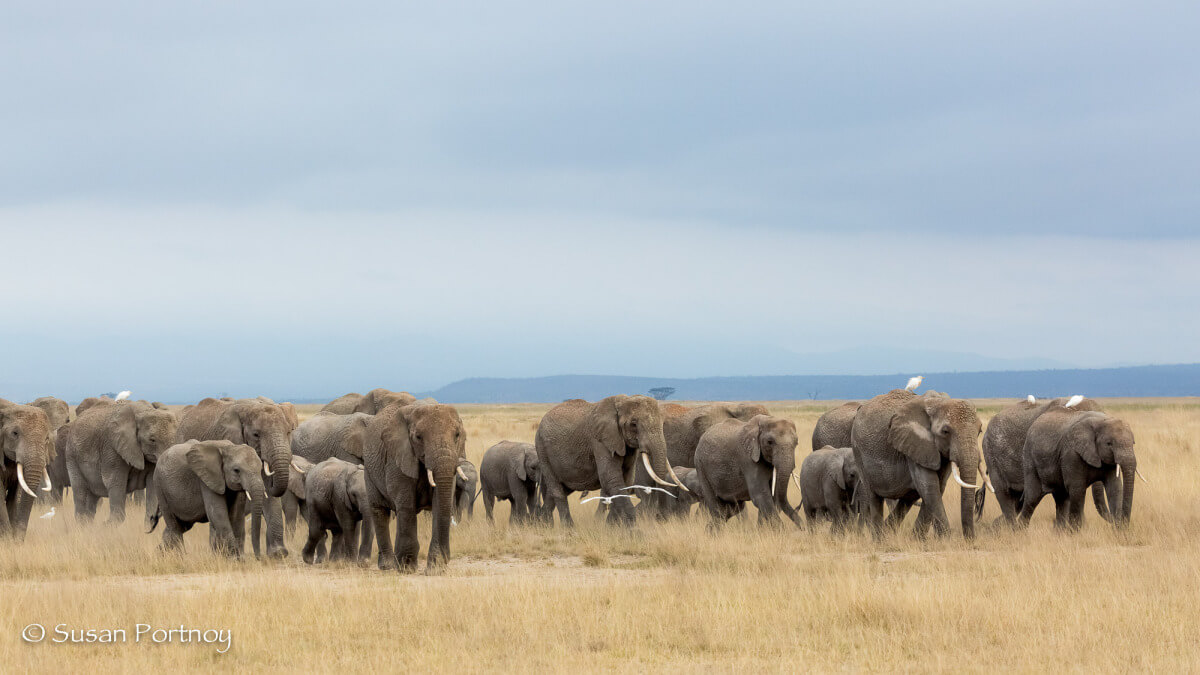
8. The more, the merrier
In wildlife photography, if you have more than one member of a species, stay longer with your subjects. This means you are more likely to get good interaction and therefore good shots.
9. How low can you go?
The point-of-view of a wildlife photograph is just about everything. Try to get an eye-level perspective, even lower if you can. This brings the viewer of your image right into the scene and gives them the view of the world from your subject’s perspective.
When photographing a bird on the ground, get down on your belly and take the photograph. However, “eye level” is relative, as you will pretty much always be at a lower perspective than say, a giraffe in the wild.
10. The Content
When out on an African safari, most tourists want to see the Big Five – lion, elephant, buffalo, rhino and leopard. However, there are many other forms of life around including plants and small insects. As a photographer learn to see the potential in the mundane to create amazing photos.
Whenever you are out there, whether hiking or sitting in your car waiting for something to happen, look around. You’ll be amazed at what you might discover. Photograph that too.
11. Patience is a virtue
When it comes to wildlife photography, patience is the name of the game. Things in nature are unpredictable. Unfortunately, you can’t ask your subject to look this way, do something cute, or stand where the light is better. You simply have to be there and ready. Moreover, the really great action-packed moments in wildlife photography last on average, based on my experience between 5 and 20 seconds. It is therefore vitally important that you are patient…very patient.
12. Be there and enjoy it
Wherever you photograph wildlife, be it in your local nature park, the beach, your garden or an exotic wildlife destination. Don’t have your eyes on the viewfinder all the time or get caught up so much with the technical issues and the settings that you don’t take in the moments you are witnessing. Be there and enjoy what you are doing.
13. Practice makes perfect
Like with anything you want to get better at, you are going to have to get practicing your photographic skills and techniques. Luckily with wildlife photography – or any type of photography – there is no shortage of opportunities or inspiration.
So before you embark on a photography expedition to Africa or a trip to the countryside, hone your skills in your own backyard.
14. Share
Share your images with friends and likeminded people to get their feedback. This really helps you understand what did and didn’t work and why. Remember to share your images with us., you can also share the story that accompanies your photographs. All the best of luck in your wildlife photography adventures.
Other Pages That May Interest You
Kenya > Safari in Kenya > Wildlife Photography – 14 Tips on How to Improves
Super photography
Super lens